DIY ("Do it yourself") screen printing at home is possible, including the classic screen printing method where the screen is coated with photosensitive emulsion and then exposed to light. This method is much more durable than printing with cut-out foil motifs, but it is also more (material) intensive. It requires the right equipment, enough (dark) space, and a proper printing table.
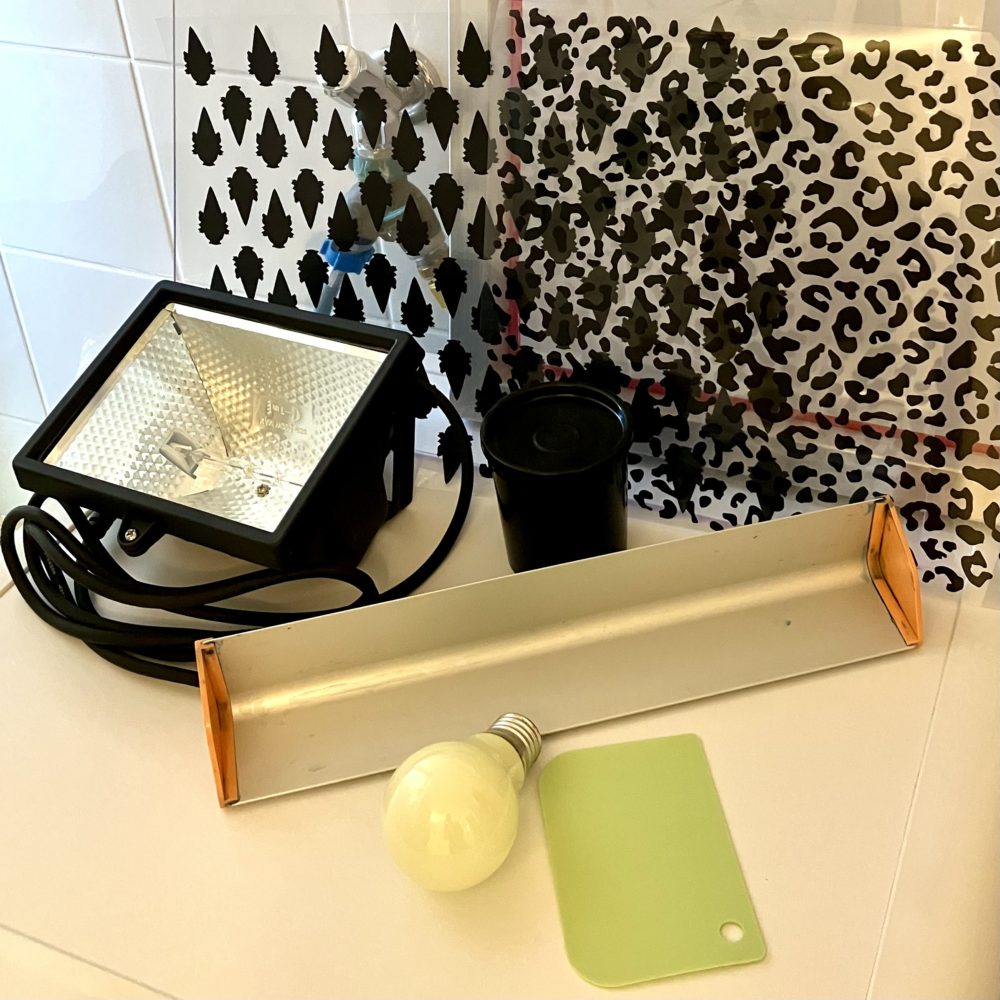
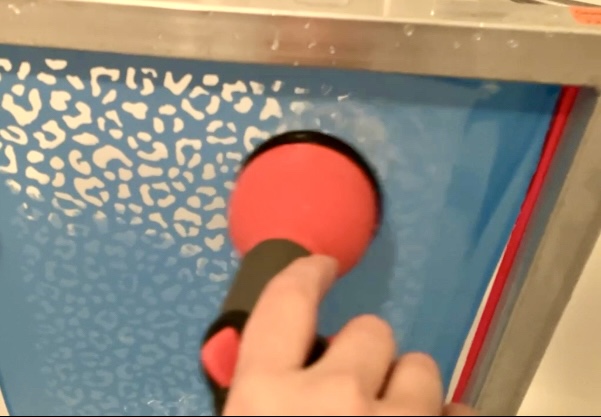
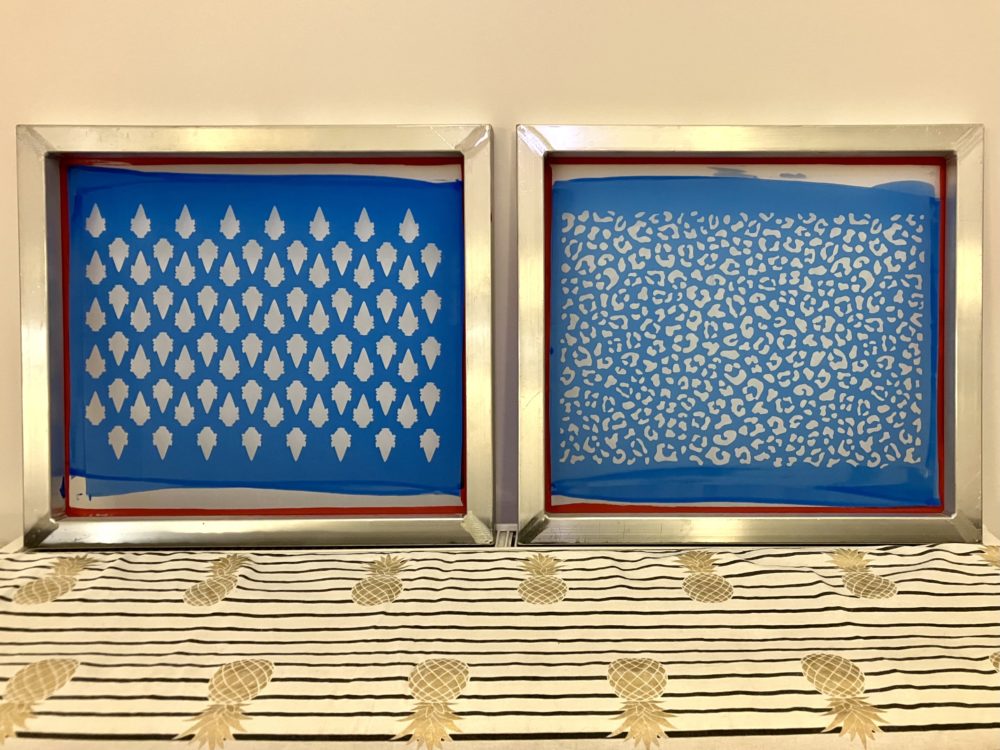
To expose the screen, you will need: a screen, completely black printed foil (the black areas of the foil will be washed out later), a plexiglas plate of appropriate size, transparent adhesive tape, photosensitive photo emulsion, an emulsion squeegee, a spatula, a yellow light lamp, an exposure lamp, a timer, a tub, and a hose with a nozzle for washing out. First, the photo emulsion is carefully but quickly spread and dried on the screen (ideally in a dark room with maximum yellow light - this does not prematurely expose the emulsion). Then (still under yellow light), the foil is taped onto the screen, the plexiglas plate is placed on top, and the screen is exposed with the exposure lamp for the appropriate time. After exposure, the screen is thoroughly washed out. Then it is dried again and post-exposed for fixation.
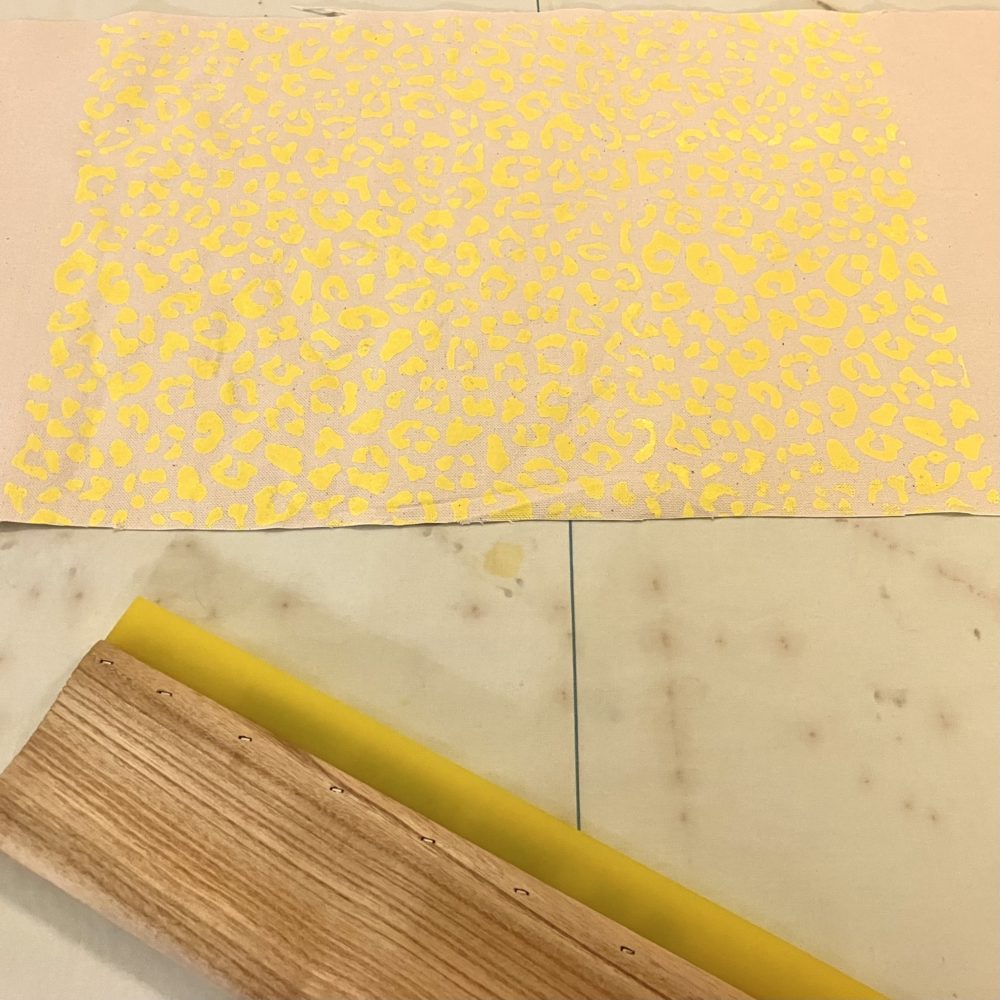
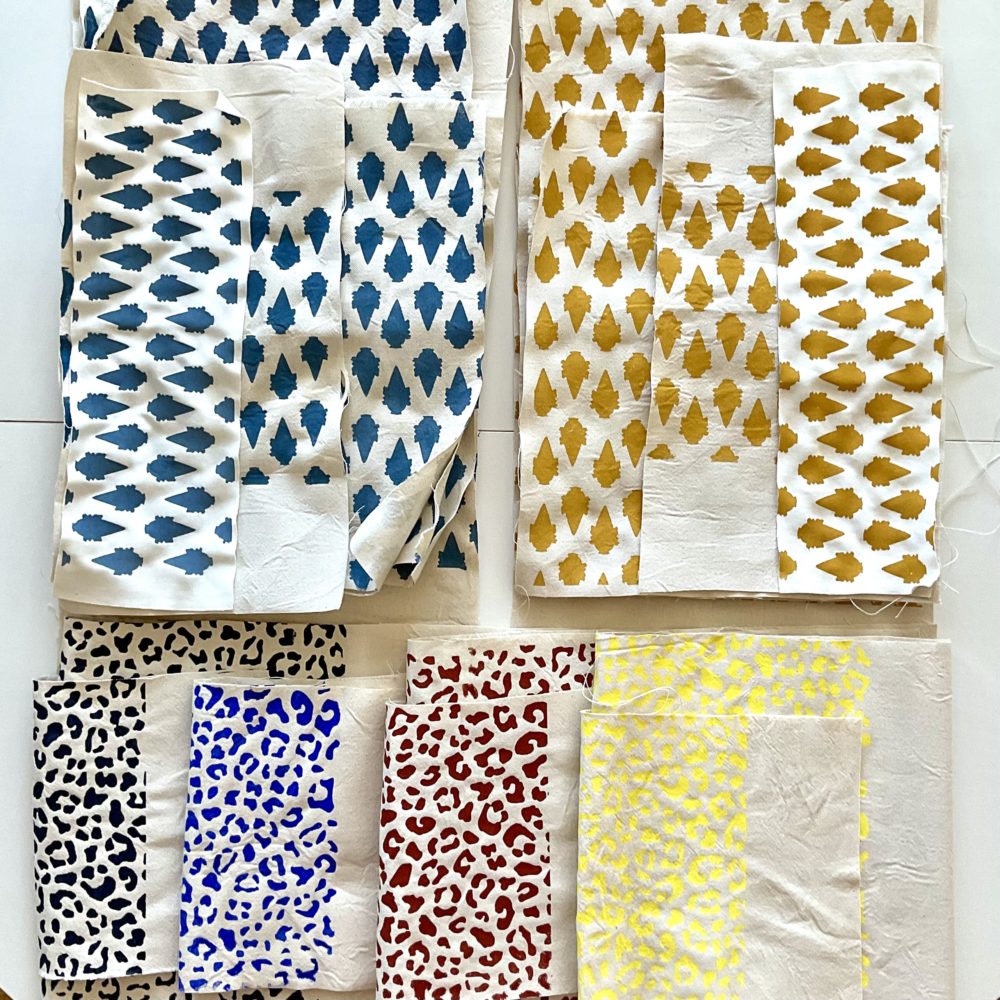
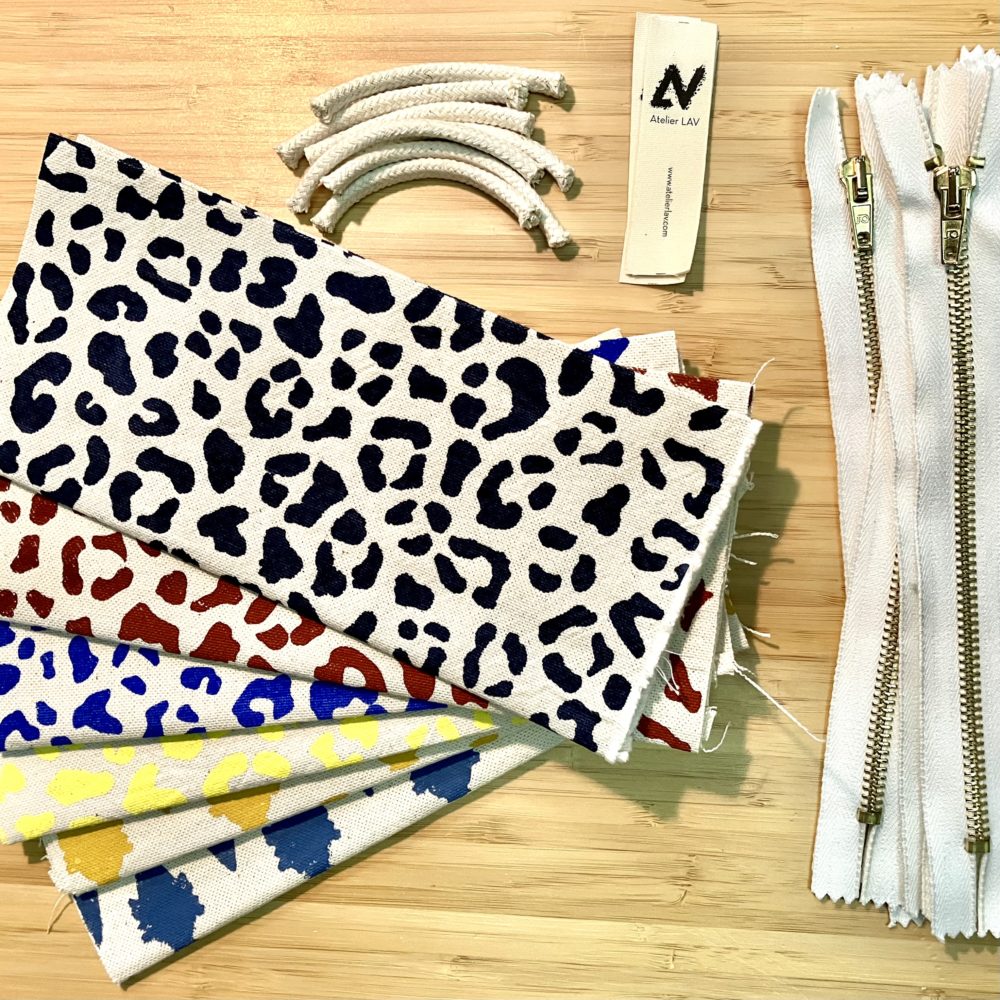
For printing , the screen must be completely dry. Then, it helps to seal gaps with special adhesive tape. For printing, it is helpful if the fabric (or paper) can be attached to the printing table (with pins, tape, or special screen printing devices). The paint or ink is evenly applied to a squeegee, the screen is held firmly, and the coloured/inked squeegee is moved quickly over the printing surface. Printing a repeat pattern is possible but must be well prepared beforehand. Afterwards, the printed material is allowed to dry, and for fabrics, it should be ironed in reverse for fixation. After that, there is nothing standing in the way of further processing. I have printed some of my plastic free customised purses with my own designs and natural colours using screen printing.